Creating a PDF
This page outlines how to create a PDF using Microsoft Office Suite and Adobe Acrobat Pro.
If you are using a scanner or MFP, the machine will automatically assign a title based on the device used. In this case, the Title will need to be changed after the PDF has been created. To do this, please reference editing the title of a PDF.
Using Microsoft Office Suite
From a new Word document:
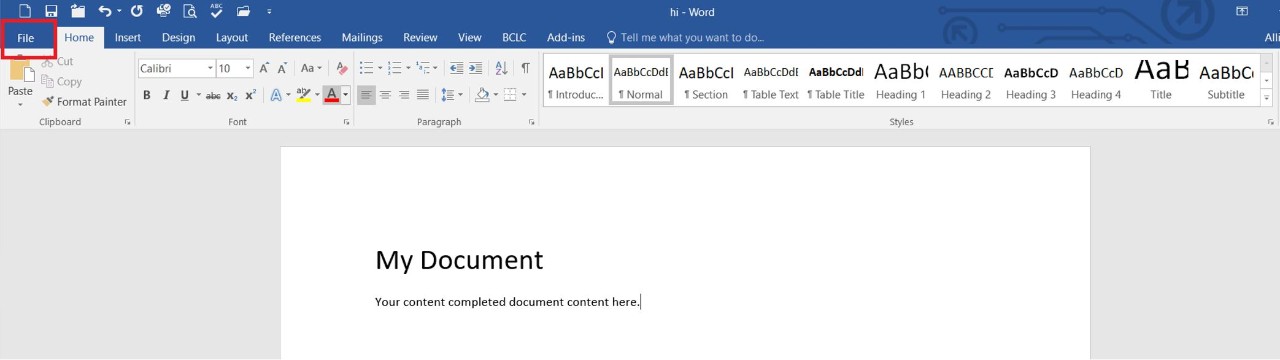
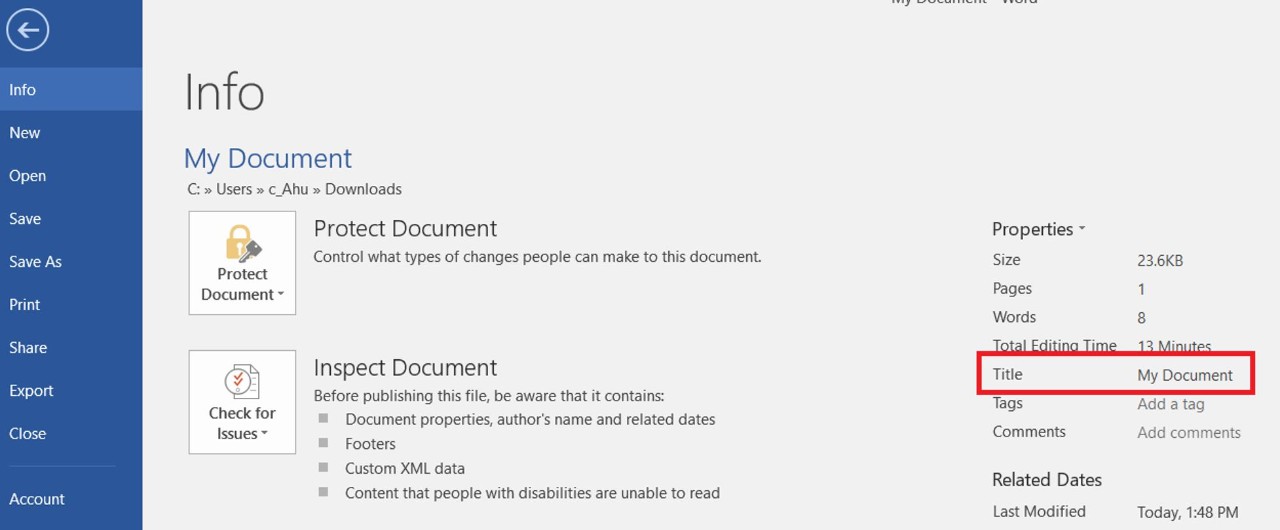
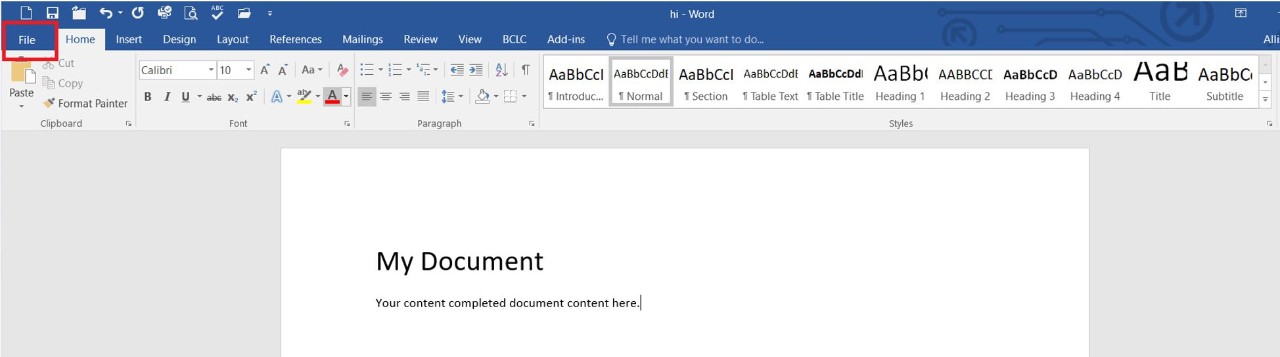
1. After all the content for the Word document has been added and is ready to save as a PDF, click File
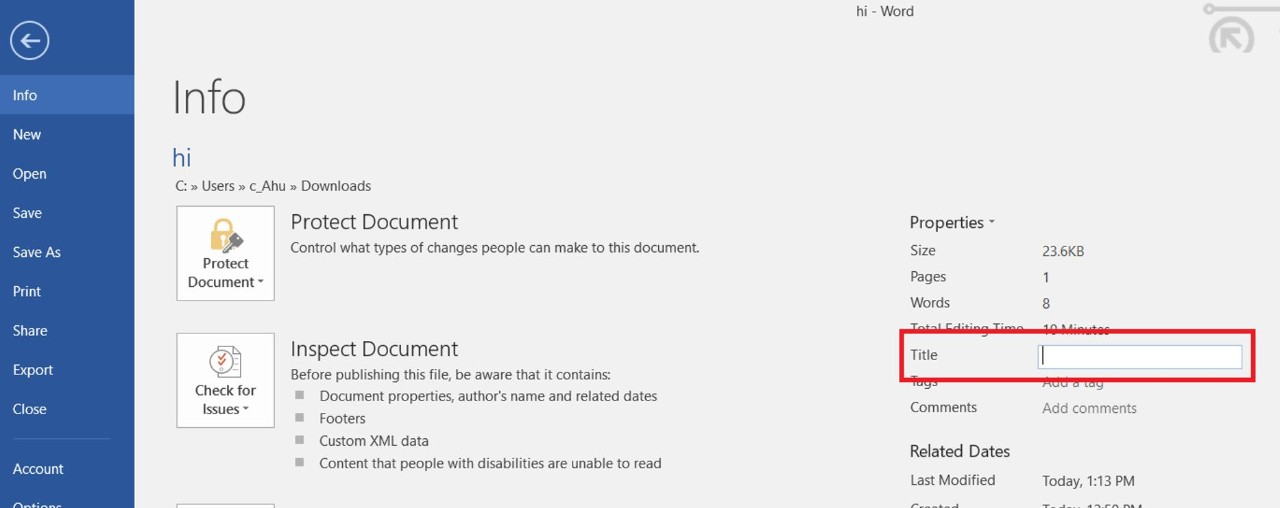
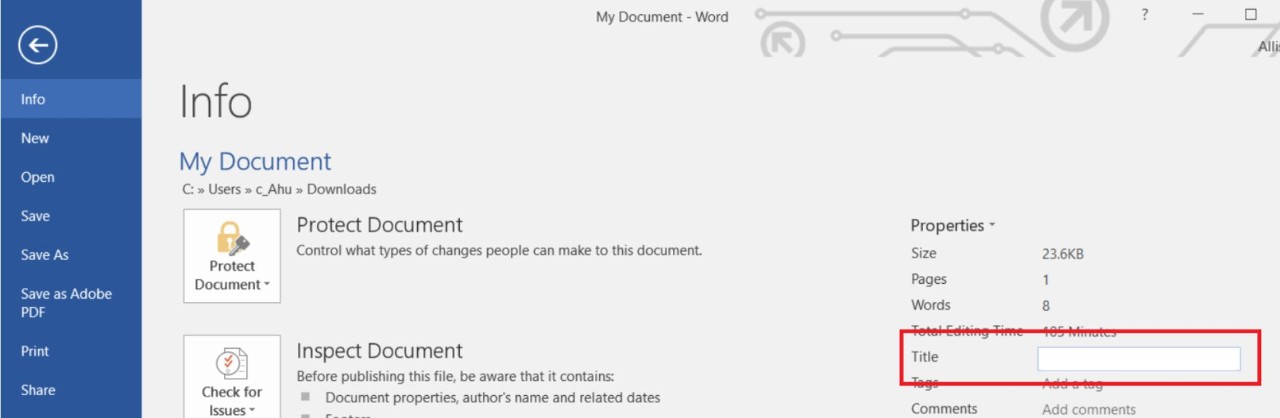
2. Under Properties, enter the title of the document in the Title field. This will be the name that appears to readers as the document label.
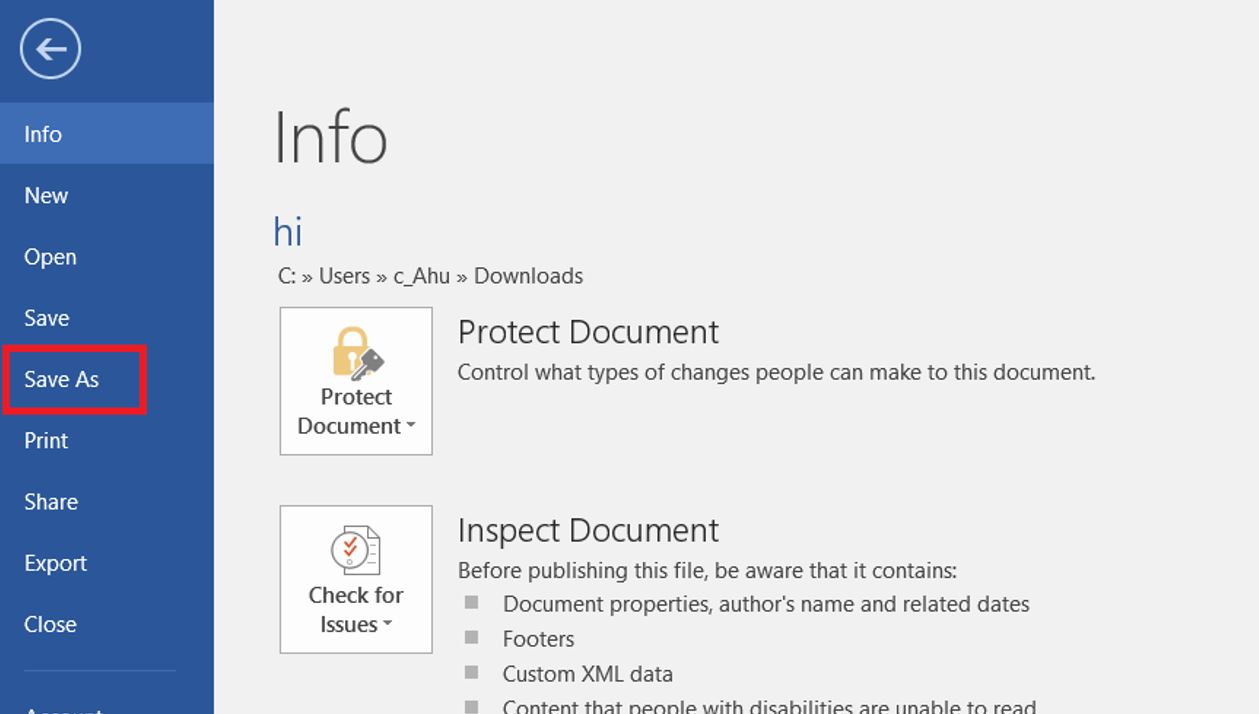
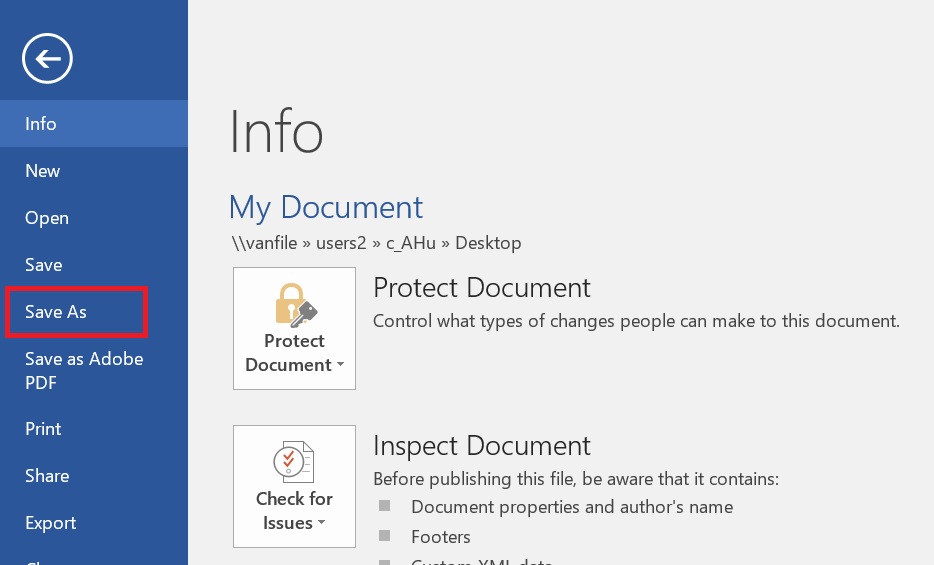
3. Press Save As on the left side of the screen
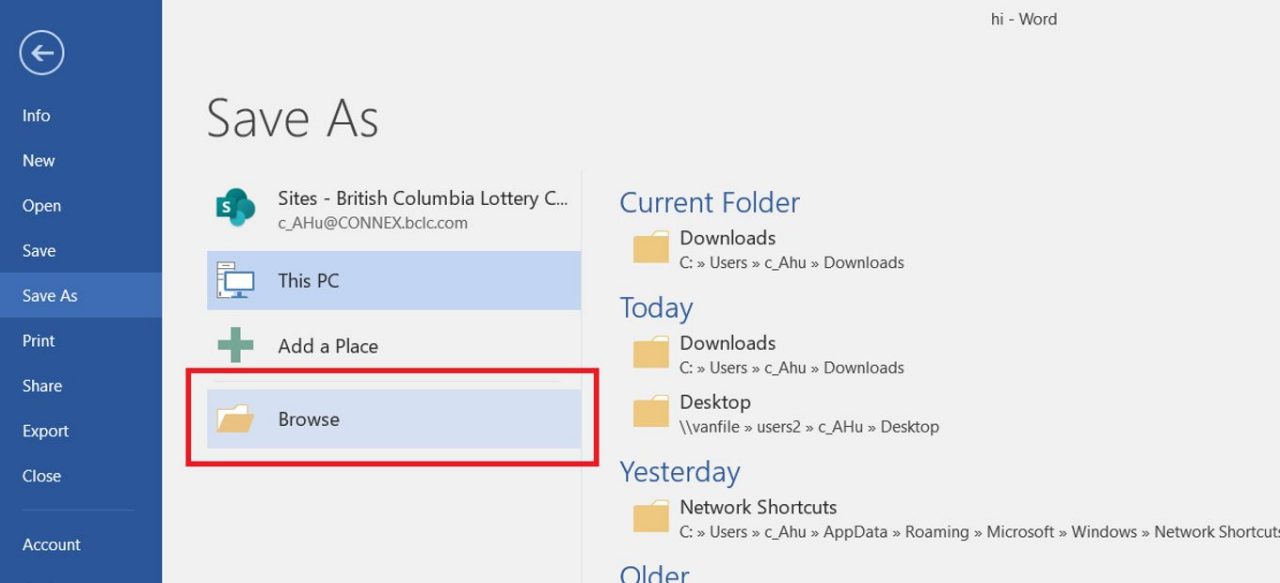
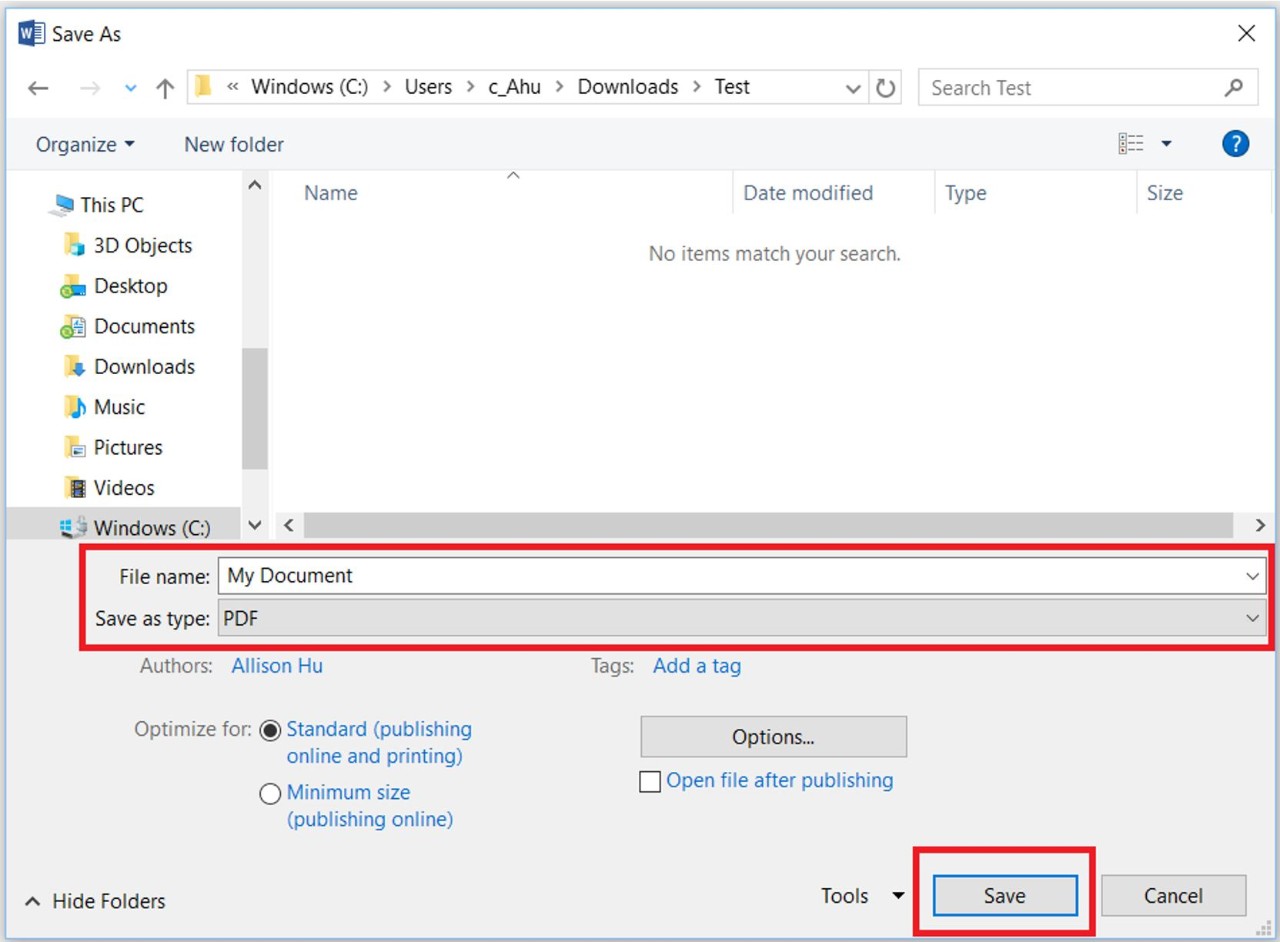
4. Select Browse and navigate to the folder you wish to save the document in
5. In the File name field, enter in the same name as the Title previously set, and then choose PDF in the Save as type dropdown. Press Save in the bottom right corner when done.

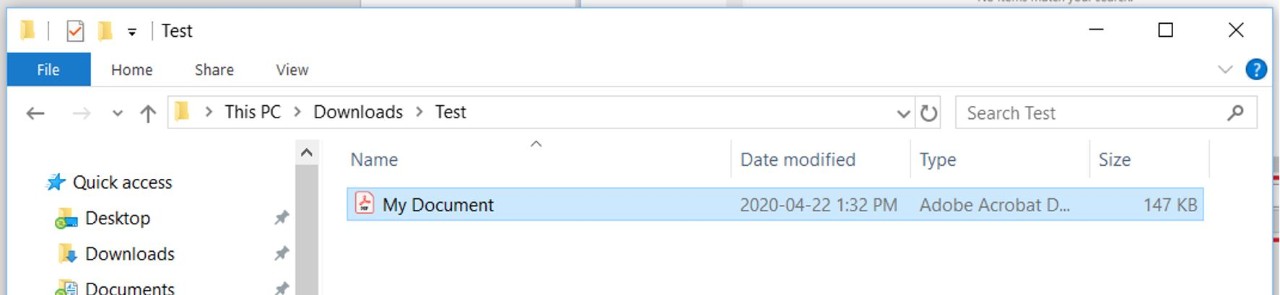
6. Verify the PDF has been properly saved by navigating back to the folder where the PDF should be
Note: Alternatively, you can choose File > Export > Create PDF/XPS Document instead of Save As. This leads to the same result, however the Title property will still need to be set before doing this.
From an existing Word document:
1. Open the existing Word document that you would like to create a PDF from
2. Under Properties, check if there is a proper title in the Title field. This will be the name that appears to readers as the document label.
You may edit this or add one if there is not one present by clicking on the field.
3. Press Save As on the left side of the screen
4. Select Browse and navigate to the folder you wish to save the document in

5. If the Title property has been changed or set, be sure to check that the File name field matches, and then choose PDF in the Save as type dropdown. Press Save in the bottom right corner when done.
Using Adobe Acrobat Pro
To use this method, please ensure you have Adobe Acrobat DC Standard installed. If your computer does not have it, request this software from ServiceNow.
1. After all the content for the Word document (or any other Microsoft Office Suite document) has been added and is ready to save as a PDF, click File
2. Under Properties, enter the title of the document in the Title field. This will be the name that appears to readers as the document label.
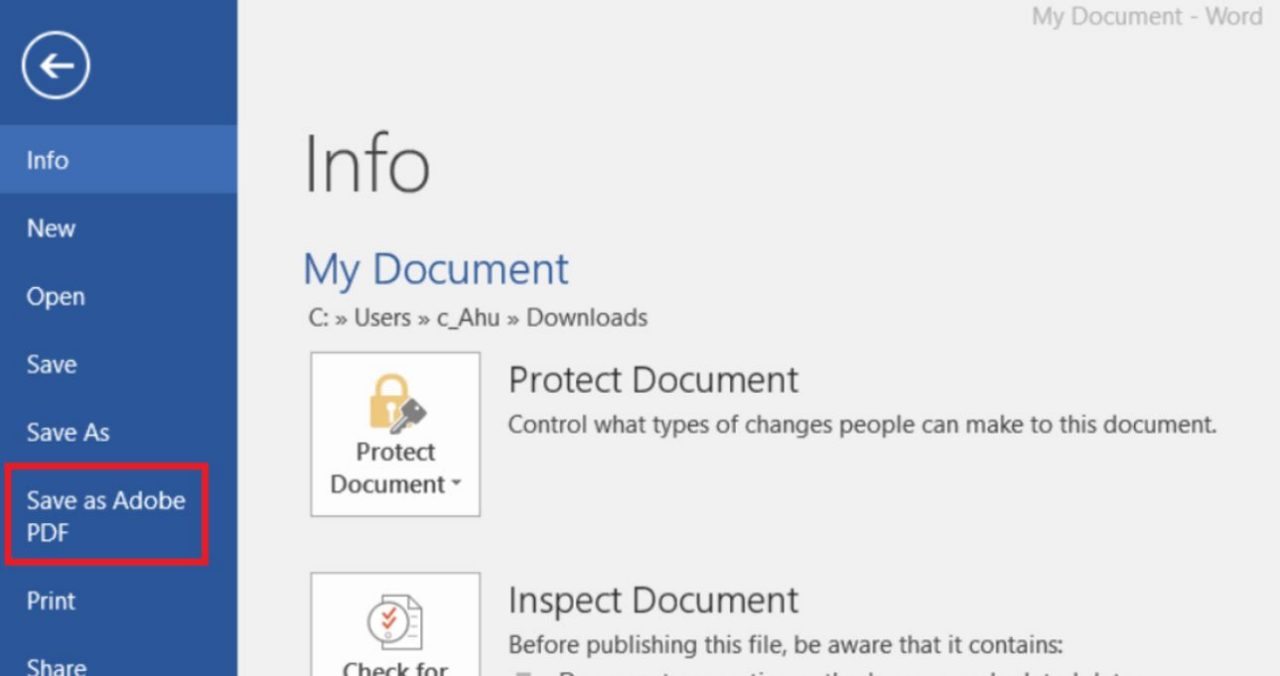
3. Press Save as Adobe PDF on the left side of the screen. When the new window opens, navigate to the folder you wish to save the document in.
Note: If you are prompted to save your document first before continuing, click Yes
4. In the File name field, enter in the same name as the Title previously set. Press Save in the bottom right corner when done.

5. Verify the PDF has been properly saved by navigating back to the folder where the PDF should be
