Automatic Method
1. Click here to use Automatic Method
Note: You will be prompted to sign in if you haven’t already.
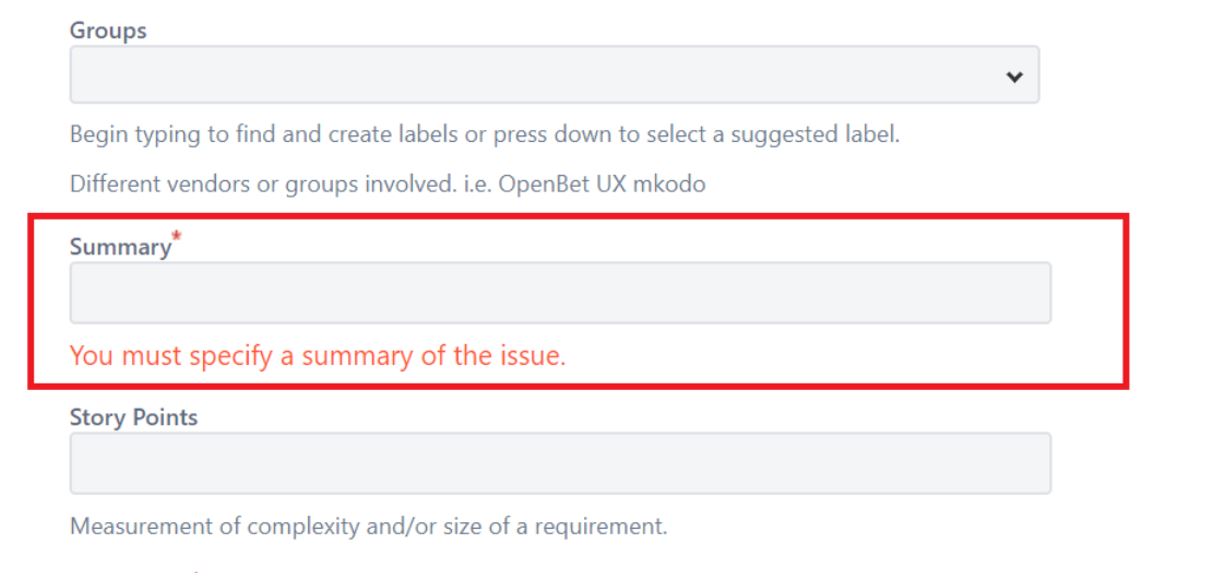
2. When you are taken to the form to create your request, find and fill in the Summary and Description text fields:
Summary
- Add a short description of what needs to be changed (ie. “Need to change image on Homepage banner”)
Description
- Add details and information about the changes required
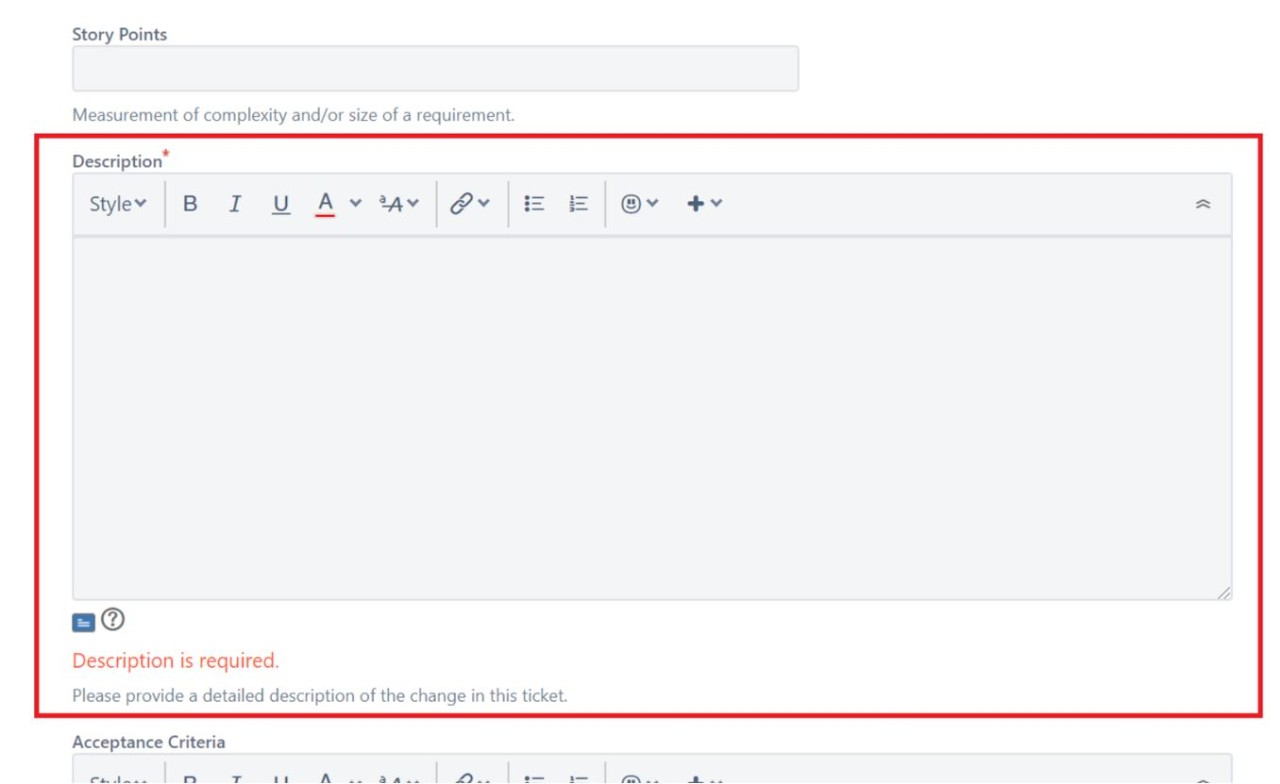
Note: Through the automatic method, attachments cannot be added via the description box while the ticket is being made (but can be done after creation). For any related files or images associated with the change, please add this to the Attachment section mentioned further down below.
3. Scroll down and fill in the following additional fields (leave all else blank):
Reporter
- If you see this option is available to you, set the Reporter to yourself (type in your name and select from the dropdown)

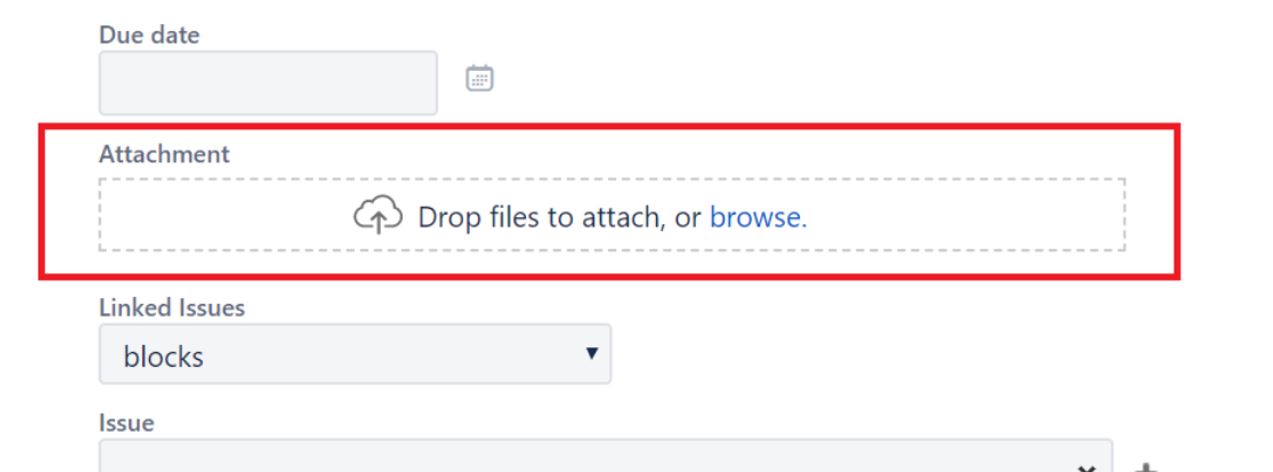
Due date
- Set to the date which you wish to see the changes go live by
- If the change is required as soon as possible, set the date to today (the day the request is made)

Attachment
- Be sure to include any related files or images associated with the change
- File and image assets can be dragged and dropped into the Attachment window, or located by clicking on “browse”
Note: Aside from the fields mentioned, all other fields should be left blank or untouched.
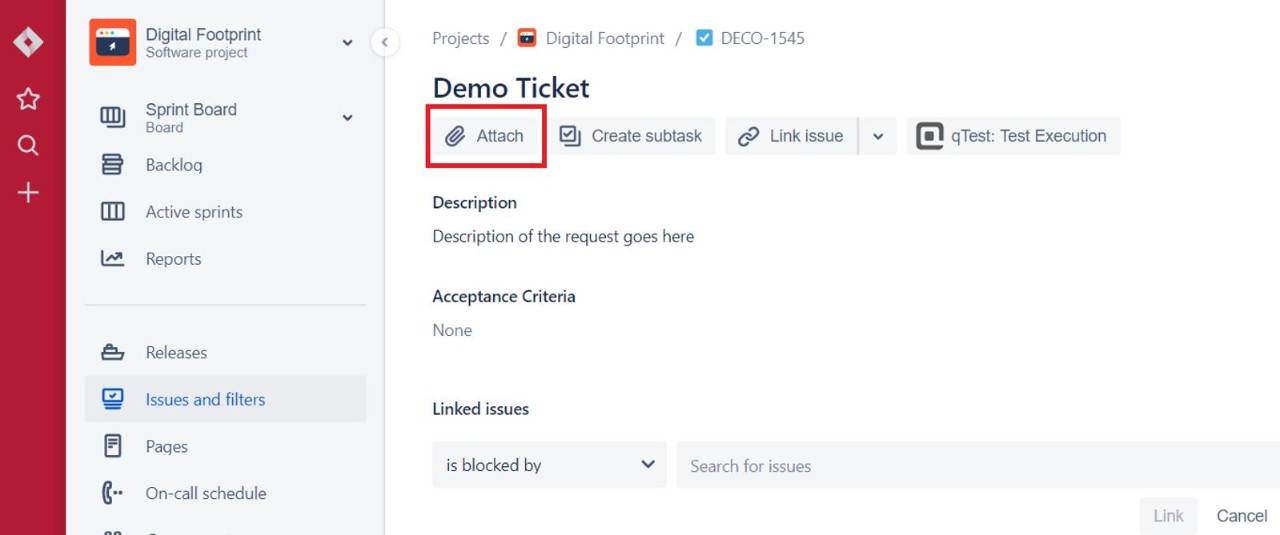
4. Click Create at the bottom of the screen. Once this happens, your ticket should appear.
5. On the ticket page, any attachments that were missed before can be added by using the Attach button. Details of the ticket can also be reviewed here.