Uploading a File
1. Click on Adobe Experience Manager on the top left corner of the page
2. Select Assets, then Files

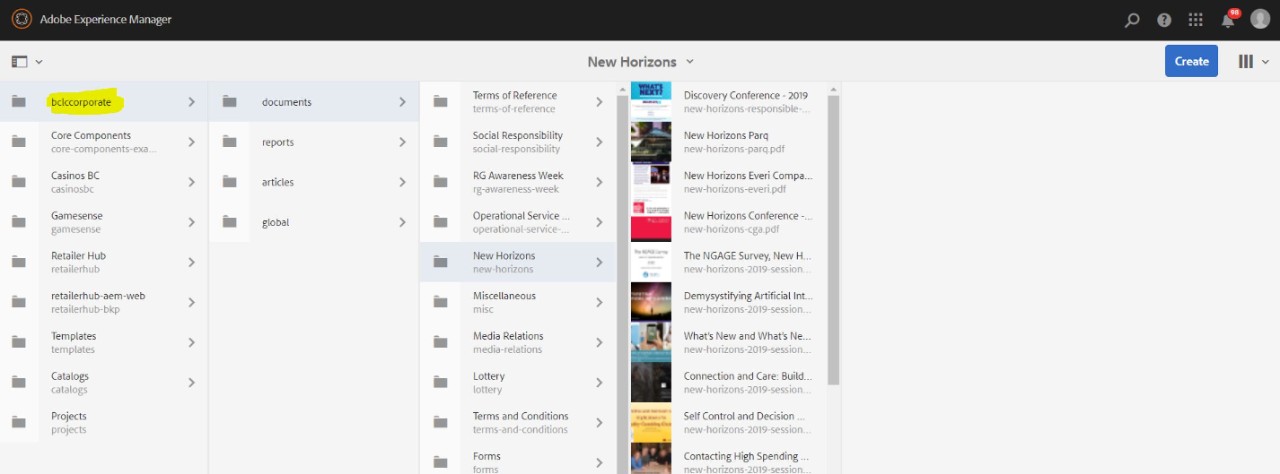
3. Find and open the respective folder for where you would like to upload a file. In the example below, the New Horizons folder is selected, so any files uploaded would appear in that folder.
Note: Always select the “bclccorporate” folder (highlighted) first to get started. All the asset folders you will be looking for are found there.
4. Click on Create on the top right corner of the page, then Files from the dropdown

5. Browse for the file from your computer and select Open (select multiple files by holding Ctrl, all files selected will be uploaded to the same folder)
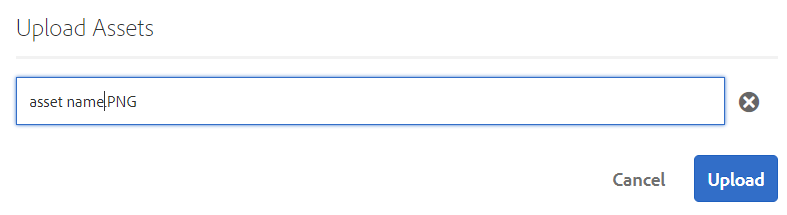
6. Rename the file (optional) and click Upload. If you are unfamiliar with the required naming conventions, click here to learn more.
Note: Files uploaded are not accessible on the web until it is published. Whether an author can publish or not is determined by the permissions set for the user.