Experience Fragments
Experience fragments are used as a way to replicate components with pre-existing settings and information. The components can then be used on different pages while staying automatically updated as content is changed and controlled from one central location.
After an experience fragment is created, it can be added the same way a normal component would during page authoring.
Creating an Experience Fragment
1. Click on Adobe Experience Manager on the top left corner of the page

2. Select Experience Fragments
3. Navigate to the Reusable Components folder that will house the fragment you will be creating
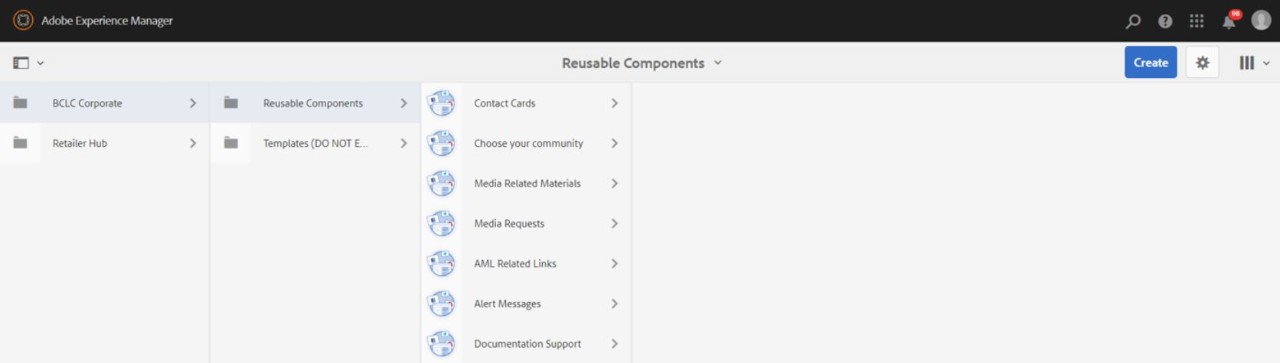
4. Click Create on the top right corner of the page and select Experience Fragment

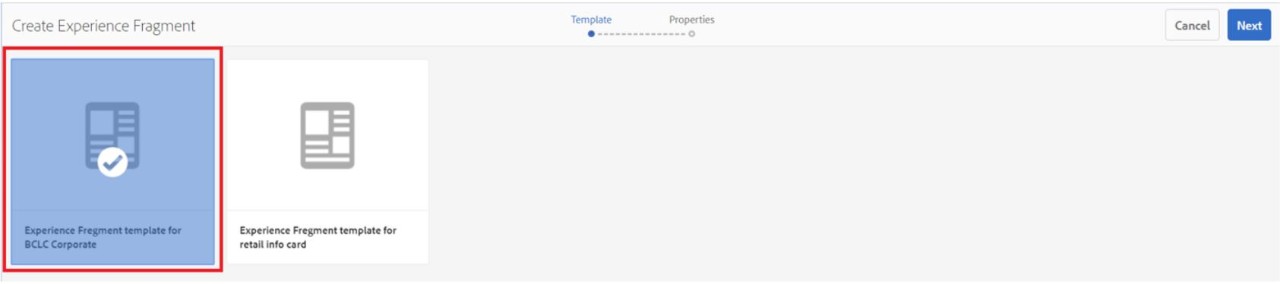
5. Select the template “Experience Fragment template for BCLC Corporate” and click Next
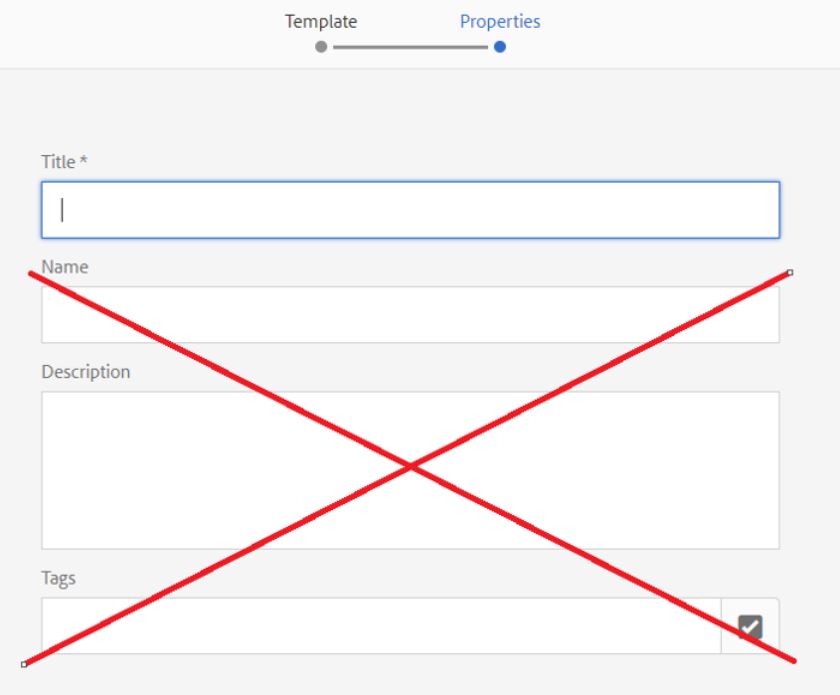
6. Give the fragment a title and click Create. The title should reflect the function of the experience fragment (ie. “Alert Messages” or “Contact Cards”).
Note: Leave all other fields blank.

7. Open the fragment you just created

8. Select the box that says “Drag components here” and add components through the “+” icon. Build the experience fragment as you would normally when configuring components on a page.
See here for help on how to configure a component.
The fragment will automatically save when you are done.

Note: These instructions are for creating simple fragments. Nested experience fragments live in the Templates folder rather than Reusable Components folder, and should not be changed.
If you wish to create a nested experience fragment, please contact an administrator. An example of a nested component would be the Section Container.
Adding an Experience Fragment Variation
You may want to reuse different variations of the same experience fragment. Variations can include changes like text, imagery/icons, and other slight changes to the fragment.
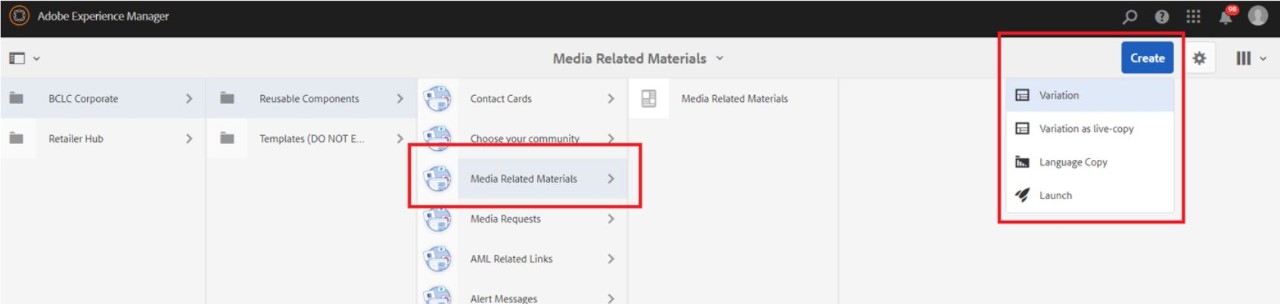
1. Select the experience fragment you want to make a variation of (ie. Media Related Materials). Click Create on the top right corner of the screen and then Variation.
Note: “Variation” is different from “Variation is live-copy”. Always choose Variation.
2. Select the template “Experience Fragment template for BCLC Corporate” and click Next

3. For the title, enter a variation name that states clearly what the variation is (ie. Contact Cards is an experience fragment. It has two variations: FAQ, Live Chat, Call, and Email, Live Chat, Call). Click Next.
Note: Leave all other fields blank.
4. Select the box that says “Drag components here” and add components through the “+” icon. Build the experience fragment as you would normally when configuring components on a page.
See here for help on how to configure a component.
The fragment will automatically save when you are done.

5. Verify that your new variation has been added by going back to the original folder. Your new variation (ie. Email, Live Chat, Call) should be listed under your existing experience fragment (ie. Contact Cards).
The fragment must now be published before it is visible to the public.
Note: Publishing an experience fragment is not necessary during creation, as publishing a page will automatically publish the experience fragment being used.

Placing an Experience Fragment
Once the experience fragment has been created, it is ready to use in page authoring.
1. You must be in edit a page mode
2. In the area where you wish to place an experience fragment, look for the box labelled Drag Components Here. Select it and click on the "+" sign to open a component dialogue box.

3. Choose Experience Fragment from the component dropdown list

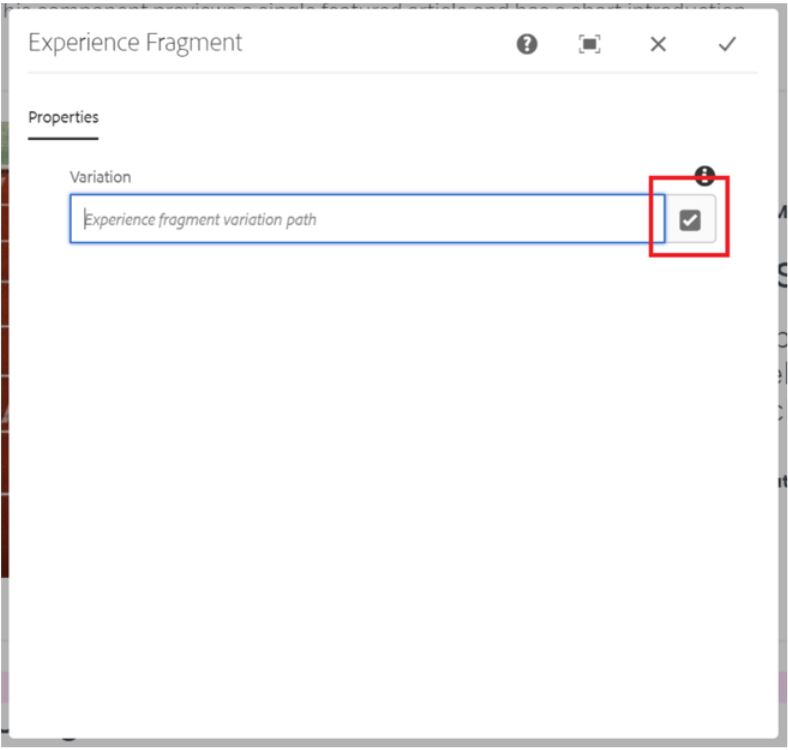
4. Once placed on the page, select the experience fragment box and click the tool icon on the left

5. In the dialogue box, select the check box to open the Selection Dialog window
6. In the new window, select BCLC Corporate and navigate to the desired experience fragment. Check the box next to the experience fragment name, then press Select in the top right corner.
In this example we are choosing the variation “Email, Live Chat, Call”.

7. The previous dialog window will return with the Variation text field pre-filled. Click on the check mark on the top right corner to place the experience fragment.

8. The page change must now be published before it is visible to the public.