Creating an Article
There are three steps to creating an article:
- Creating a content fragment
- Adding an image (if applicable)
- Creating an article page
For quick reference, a checklist is also available for you to print and follow.
Content Fragments
Content fragments hold article body text and must be created before an article page can be authored and completed. They exist separate from the page to optimize work flow in the case that the content creator is separate from the author.
Article pages can offer different ways of showing the same content, but will utilize the same content source (the content fragment).
Creating a content fragment
1. Click on Adobe Experience Manager on the top left corner of the page

2. Select Assets, then Files
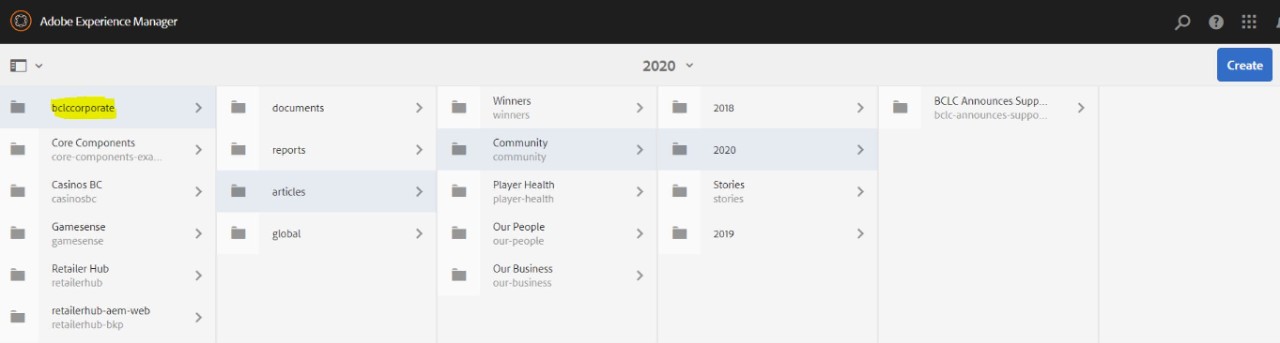
3. Find and open the appropriate folder for the type of article you wish to add (ie. a Community story within the 2020 year)
- Choosing the appropriate folder includes selecting the correct category based on the article’s content
Note: Always select the “bclccorporate” folder (highlighted) first to get started. All the asset folders you will be looking for are found there.
4. Click Create on the top right corner of the page, then Folder. When a window pops up, enter the EXACT ARTICLE TITLE in the text field for "Title" (this will be the folder name).
Important: Please leave the Name section and all other fields blank
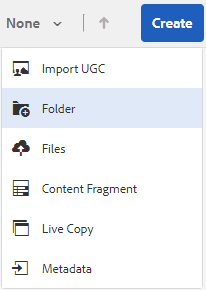

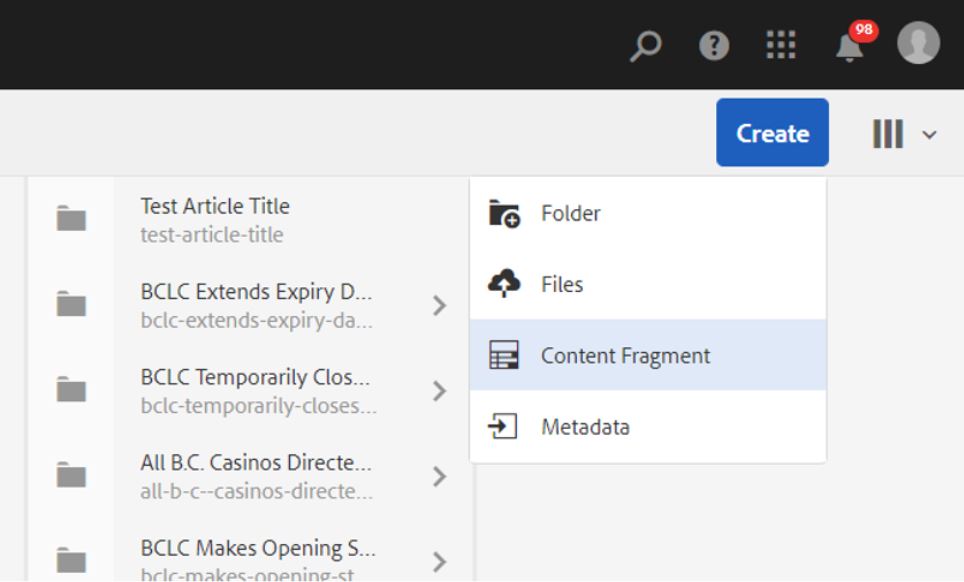
5. Navigate to the newly created article folder. Click Create on the top right corner of the page, and then Content Fragment from the dropdown.
6. Select Simple Fragment, then click Next in the top right corner. When it prompts you to enter a Title, do the same as previously when creating the folder and enter the article title.

7. Add only the article body copy text to the Main text field (do not include the article title, date, or anything else). Click Save.
Note: When adding body copy, please be mindful about the guidelines for in-text links.

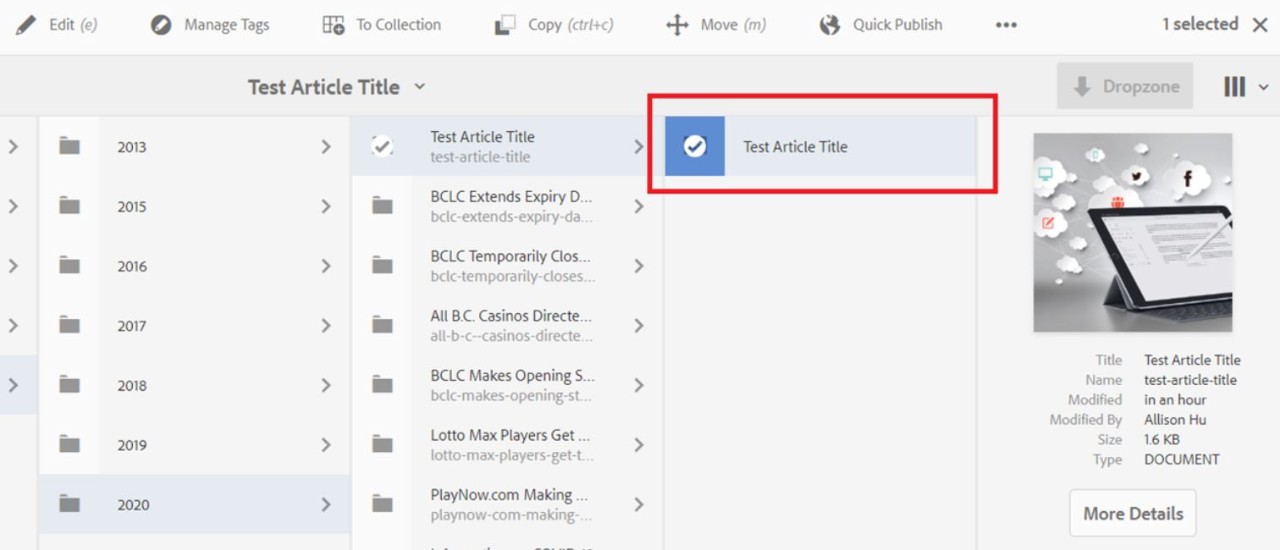
8. Verify the content fragment has been created by checking the article folder
Note: Images associated with the article specifically should be included in the content fragment folder as well. This is discussed further in the next section.
Article Image/Assets
Most articles have an accompanying image.
Please note that any images associated with the article specifically (such as a winner’s photo) should be included in the content fragment folder as well. This should not include commonly used images such as Lotto logos, the BCLC logo, etc.
1. Navigate to the folder previously created to house the article's content fragment and click Create, then Files at the top right corner of the page.
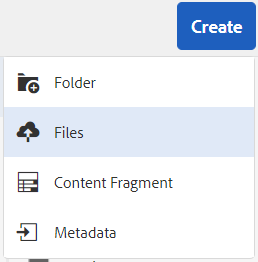
Note: Make sure the article folder is selected to avoid adding the image to the wrong folder.
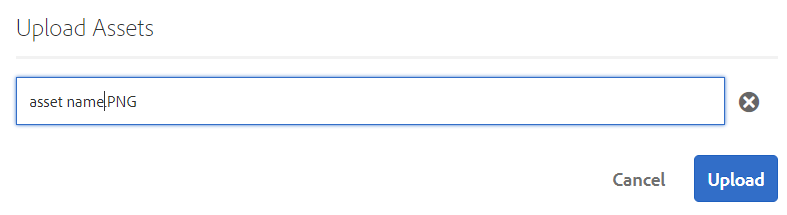
2. Browse for the file from your computer and select Open. Please ensure that the photo is in the correct aspect ratio (16:9) before adding.
3. Rename the file (optional) and click Upload.
Article Page
Article pages go through a process that is slightly different than how a generic page is made, due to the addition of page properties and configuration requirements.
1. Click on Adobe Experience Manager on the top left corner of the page

2. Select Sites, then navigate to the appropriate folder based on the type of article. Create a Page using the button on the top right corner of the screen.

3. Select a page template based on the category of the article you are authoring. (According to the example from the previous image, this would be "Article - Our Business"; your scenario may be different.)
Once selected, click Next on the top right of the screen.

Available templates for use:
- Article – Community
- Article – Our Business
- Article – Our People
- Article – Player Health
- Article – Winners
Note: The Article – Generic template should not be used unless specified.
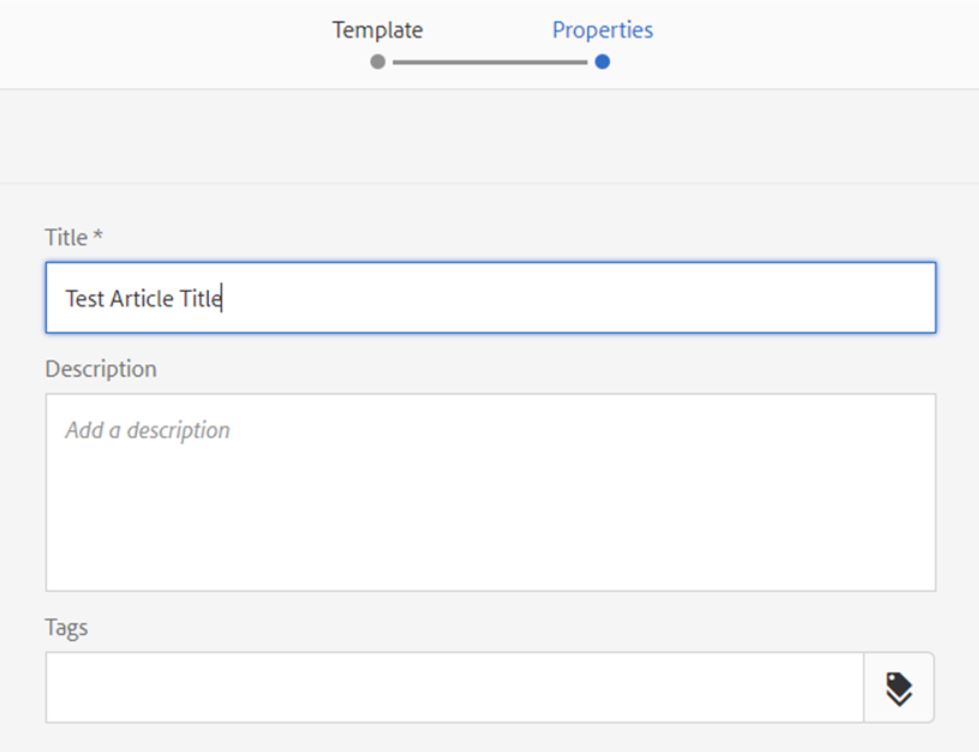
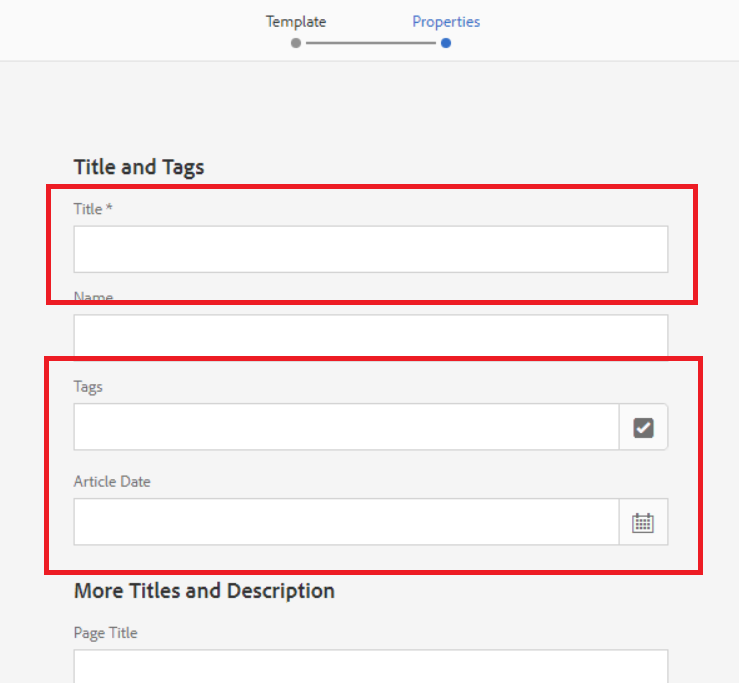
4. Enter in the page properties. The Title will be the exact title of the article.
The Tags will include properties unique to the article content (ie. the community name, region, any affiliated products). Read more about tags here.
- Tags should automatically appear as an option in the dropdown after typing, at which point you can select it.
- If a tag you need does not exist, please request that it be added. Do not type in a new tag name; they must only be selected from the dropdown. Any new tags typed in this field will not be saved.
Fill in the article date field using the calendar icon provided. This helps determine the order of the articles shown on the site.
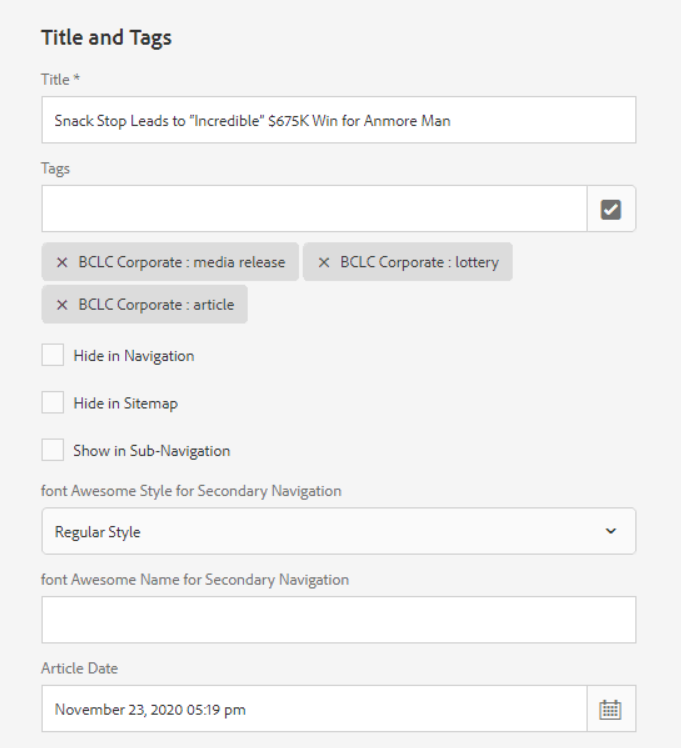
Below is an example of the properties for an existing article page. Use "News" tag only for news articles not winner articles/stories. News tags is used to show latest news stories on BCLC homepage.
5. Select Create in the top right corner, then Open to go to the new page
6. Click on the Content Fragment component and press the tool button to configure it

7. Select Single Text Element under the Display Mode options, then click the check box under Content Fragment to upload the article body text
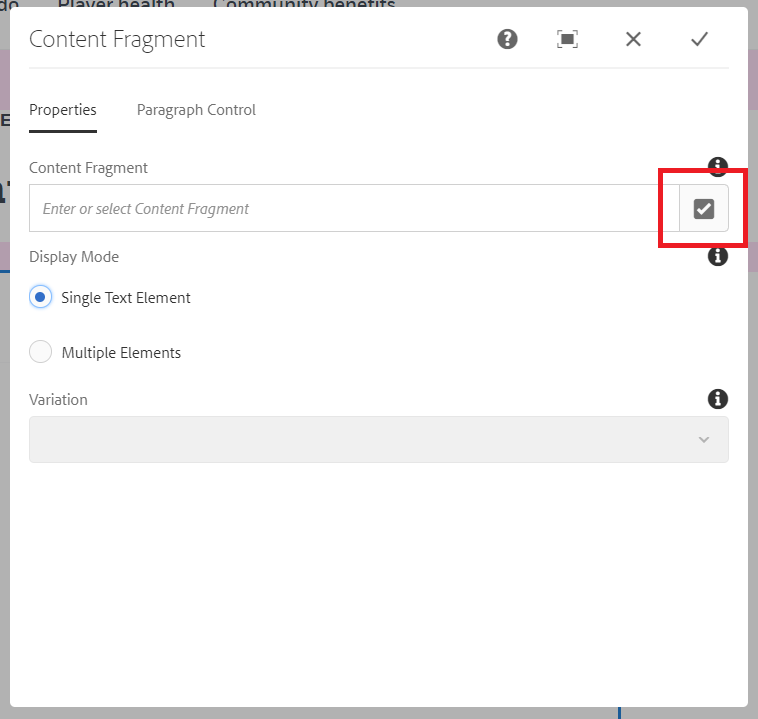
8. Select Main from element dropdown

9. In the window that appears, navigate to the content fragment previously created. Click on the check box to the left of the content fragment (it should have the corresponding article title) and press Select in the top right corner of the window.

Note: Once the content fragment is inserted, the text will appear incorrectly spaced. This is fine, as it will look normal after the article is published.
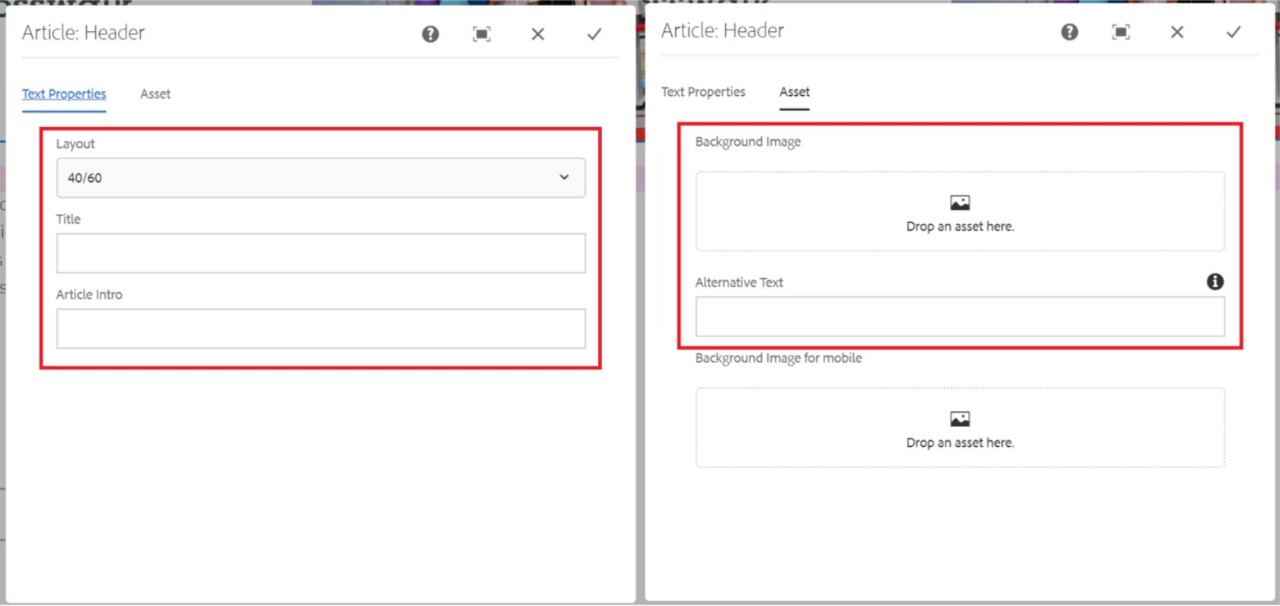
10. Next, open the configuration window for the header component by clicking the tool icon.
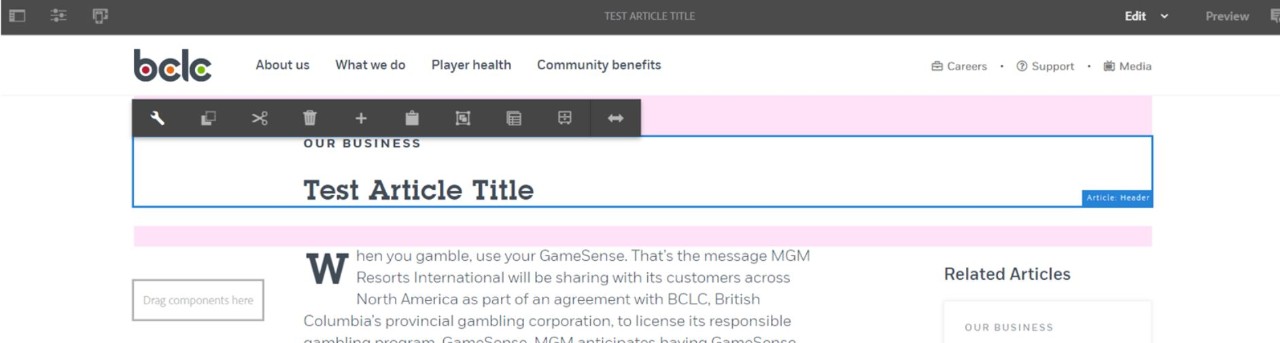
11. Set appropriate configurations for Article Intro and/or any images. If including an image, be sure to add an Alt Text that describes the image.
The article image can be found in the same folder as the content fragment.
- If there is no image, you may use the default BCLC logo placeholder (no changes required)
Note: For help on adding an image to a component, click here.
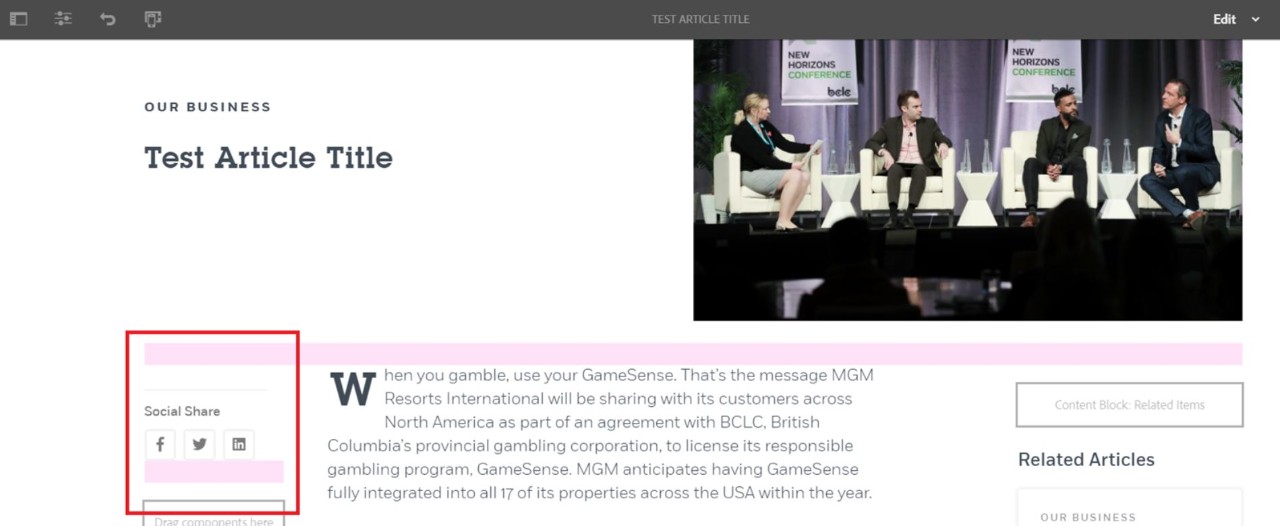
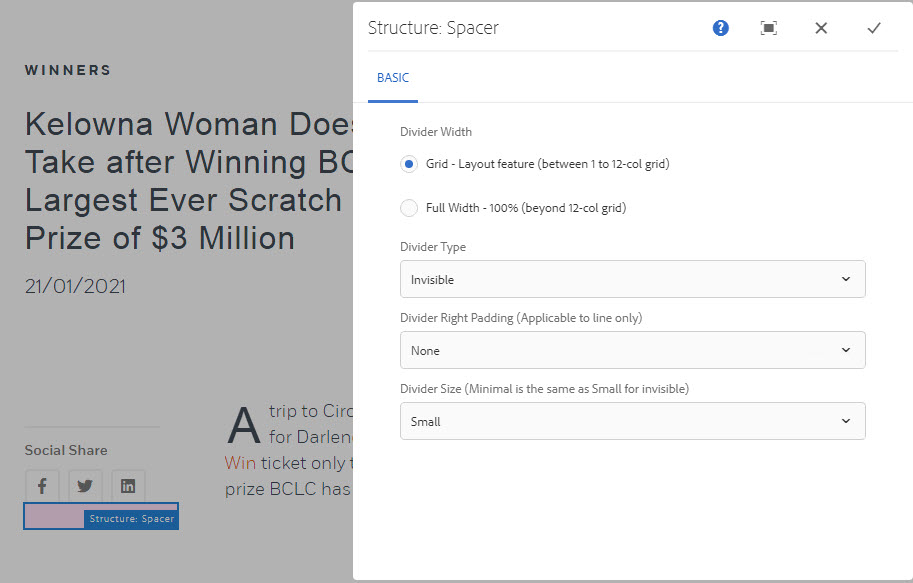
12. To complete the article page, add the CTA: Social Share component to the left of the body text. Article templates automatically generate a container for this. A small invisible spacer must also be included underneath the social share component, as shown below (for mobile purposes).
Note:
- If the article is on a sensitive topic, the author may choose to not include the social share option for readers.
- Community Stories do not require a social share component.